Vegan Desserts
Creamy Homemade Vegan Ice Cream with Coconut Milk
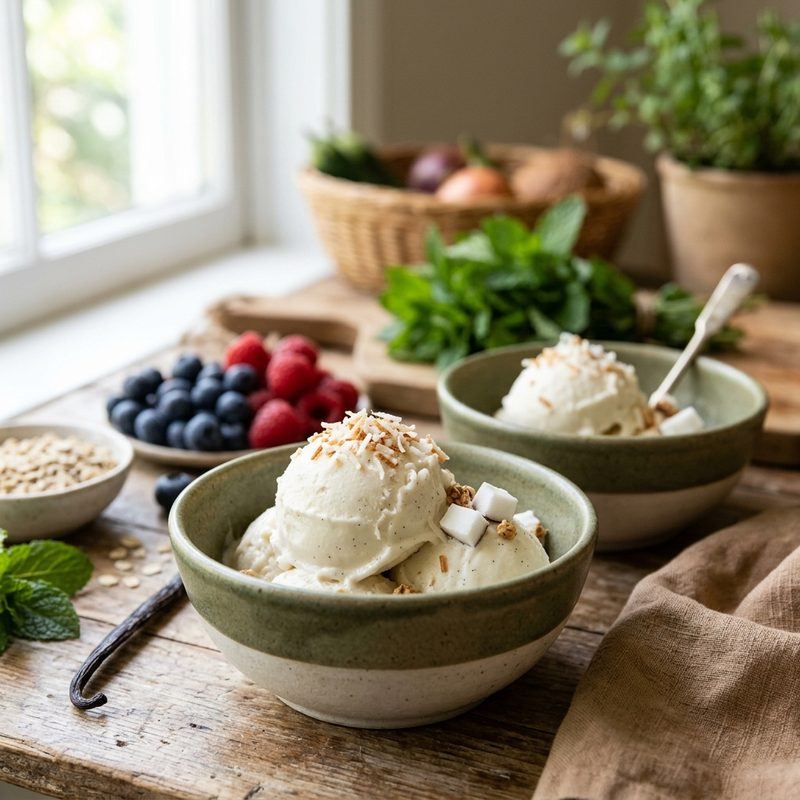
This coconut milk ice cream is defined by its luscious, velvety texture and the deep aroma of real vanilla bean. It offers a rich, satisfying mouthfeel that rivals any traditional custard-based dessert while remaining entirely plant-based.
- Prep
- 15 min
- Cook
- 30 min
- Serves
- 4
- Level
- Easy
- Per serving
- 420 kcal
Method
This rich coconut milk ice cream recipe is a staple for any vegan kitchen. By using arrowroot as a stabilizer, you achieve a professional, velvety texture without any ice crystals. Infused with real vanilla bean and maple syrup, it is the perfect homemade vegan treat for a warm summer afternoon.
Step 1. Begin by shaking the cans of full-fat coconut milk well before opening to ensure the cream and water are combined. Pour the milk into a medium saucepan.In a small bowl, whisk together the arrowroot powder with two tablespoons of the coconut milk to create a smooth slurry. This technique is essential because arrowroot acts as a stabilizer that binds to the water in the coconut milk, preventing the formation of large ice crystals during the freezing process, which ensures a professional, creamy finish.
Add the maple syrup, sea salt, and the seeds from the vanilla bean to the saucepan. Warm the mixture over medium heat, stirring constantly until it begins to steam.
Pour the arrowroot slurry into the saucepan. Continue to cook for 2 to 3 minutes, whisking frequently until the base thickens slightly to a consistency that coats the back of a spoon. This heat activation is necessary for the starch to fully gelatinize and create the desired body.
Remove from heat and transfer the mixture to a clean glass bowl. Allow it to cool to room temperature, then cover and refrigerate for at least 4 hours, or ideally overnight. Chilling the base thoroughly is a vital step because a colder base churns faster, resulting in smaller ice crystals and a smoother mouthfeel.
Pour the chilled mixture into your ice cream maker and churn according to the manufacturer's instructions, usually 20 to 25 minutes, until it reaches a soft-serve consistency.
Transfer the churned ice cream to a freezer-safe container and press a piece of parchment paper directly onto the surface to prevent freezer burn. Freeze for at least 4 hours for a firm, scoopable texture.
Notes
Always use full-fat canned coconut milk; the high fat content is what provides the necessary richness for a creamy result.
If your ice cream becomes too hard in the freezer, let it sit on the counter for 5 to 10 minutes before scooping.
Ensure your ice cream maker bowl is frozen for at least 24 hours prior to churning for the best results.
For a deeper flavor, you can toast the vanilla bean pod and steep it in the milk while heating, then remove before chilling.